Saturday, April 20, 2013

Sculpted Scenic Figures: Large Scale

I make figures this size for my Large Scale Skarloey engines and for close-ups, such as cab or indoor scenes.


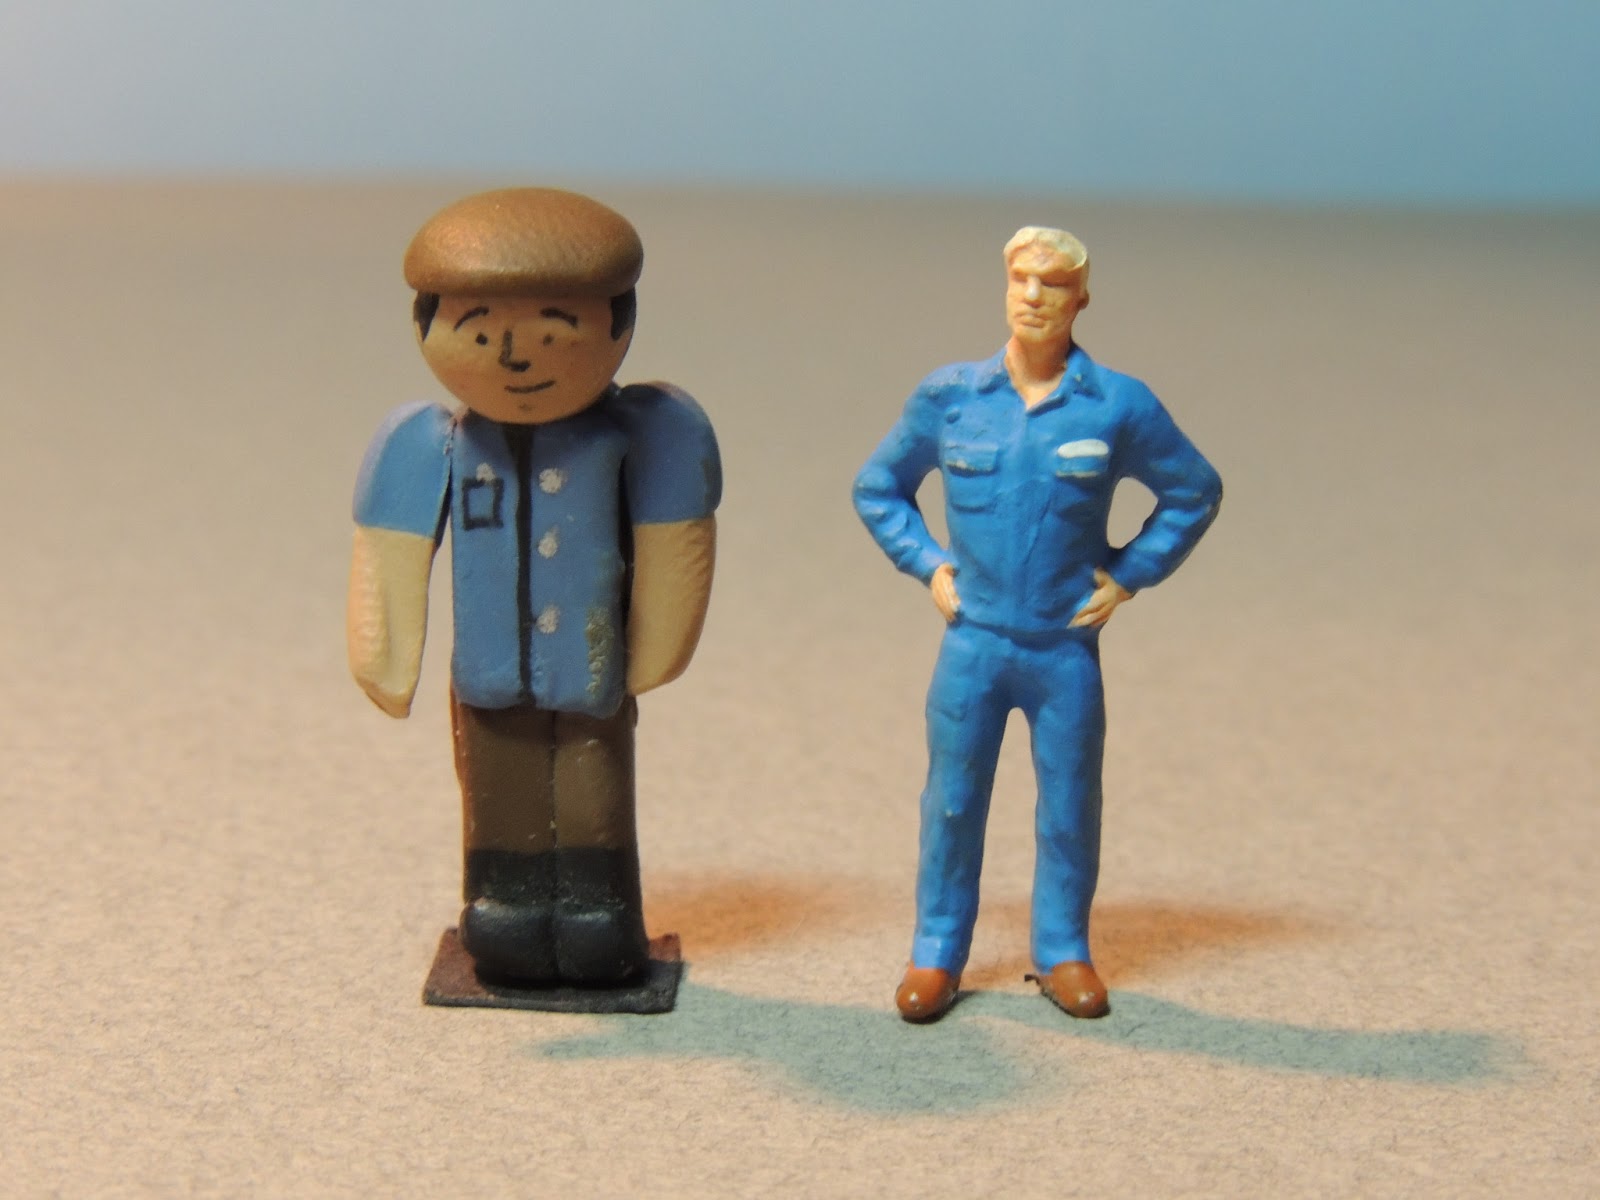
Here are both the HO/OO scale figure, and the Large scale, 16mm narrow gauge figure of the flagman for a comparison. These models are sculpted the same way as described in the previous post, though I find I have to add wire to the legs and head to make them stick together when baked. This also allows the head to rotate or turn as well, put separately together.


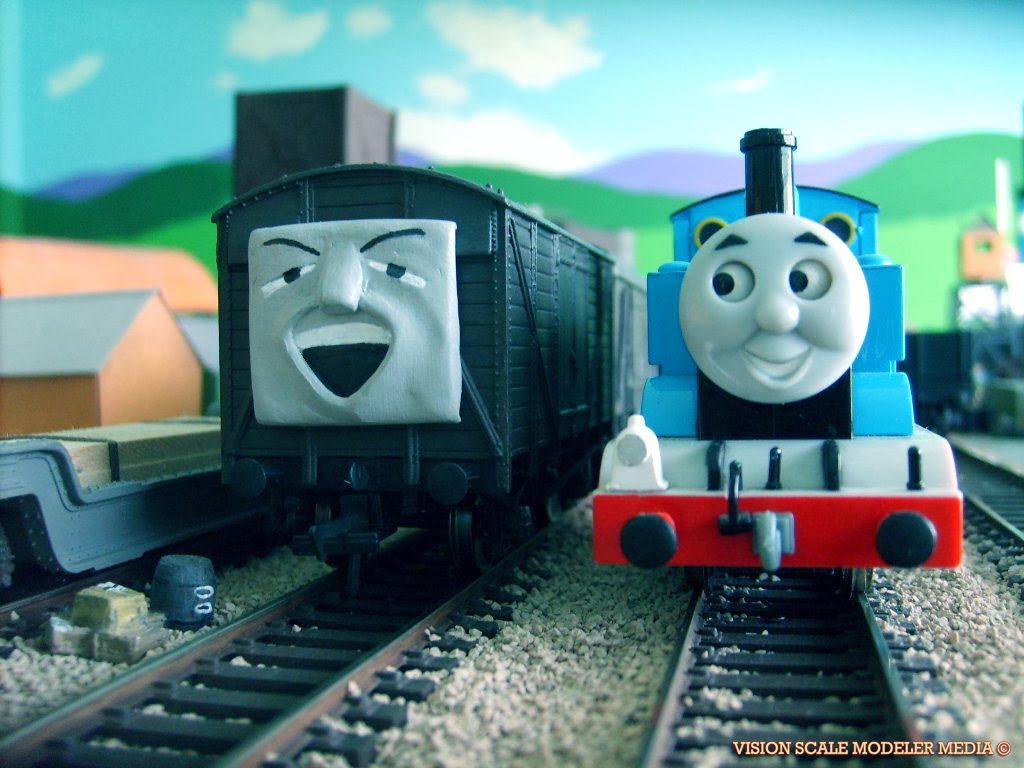
Here is Sir Topham Hatt in this size. I find I could add much more detail and expressions. I can have replaceable heads. You can see Sir Topham Hatt's different expressions on my homemade version of Something In the Air and Cranky Bugs!


Here are two farmers and a foreman. I could also place the legs together or farther apart.


Here is Jem Cole about to use the Telephone Box I made with card-stock, and clear plastic from an egg carton for the glass!


Here are the engine crew of Drivers and Firemen! I also found the heads look better with necks, the one on the far left being the best example.


Here is Skarloey, gleaming with the Railway Series color scheme, and his driver so you can see what he looks like leaning out from the cab. I can have both driver and firemen on board the footplate, and with the cab interiors fully modeled inside, I can film closeups with its detail and accuracy with the model, without having to make separate dioramas.


There is an insightful page on the Sodor Island Fansite Website, which is an interview with Alexandra Dawe. She is a model-maker from Seasons 6 - 10, who shares how the studio created the figures and props for 1 gauge and larger scales for closeups. I recommend reading these interviews for an inside look behind the scenes of Thomas and Friends, from the working experience and perspective of these extremely talented model-makers!

It is amazing to me how wonderfully these figures and engines come out, after years and years of making them, destroying them and salvaging parts to make better and more accurate versions. I believe I have come a long way, and I hope you can check this blog for more posts and pages, and comment on them too, so you can become inspired to make your own models.

Check out this page to see how I made Rheneas!

Sculpted Scenic Figures: HO/OO Scale


I used a Preiser Figure to see how I could make a Sculpy clay figure made similarly to the TV series.

I cut pieces of different colors: tan for the skin, brown for the pants and hat, and black for the boots, to pinch together and make the body.

After baking the figures for fifteen minutes in a 270 degree oven, and cooling them, I decorate them using ink pens for face and clothing, and gel pens for gold or silver buttons.

I found this to be a lot of fun, though it can be time consuming. There are so many possibilities for poses and themes, that I could actually make my own by studying from Preiser and Woodland Scenics figures.


Here are some yard workers, including Jem Cole! You may recognize the characters seen many times throughout the seasons in different locations. I also use Folk Art or Apple Barrel acrylic paint to decorate as well for any colors I can't get using just clay, such as the bandana for the man on the far right, or the undershirt shown from Jem Cole's overalls.


Here are dockside workers from Brendam. Sometimes they need to be sculpted for lifting or holding objects, such as the cargo shown, which are painted and weathered spare parts. Also for gestures such as giving out orders or waving.


This is Hornby's old baggage trolly, painted as is the spare chain and barrel. It would be smart to model a figure driving the trolly, or lifting the barrel off the cart.


Here is Sir Topham Hatt and his assistants! I modeled the hat separately and just tacked some clay to stick it on, so I could take it off in cases where he is seen without one! More well known poses, such as pointing, could be done by keeping the arms separate, then using clay or glue to change its positions, being able to make the arms stick to the body. Paper bases keep them upright, but I'd like to try Matte clear plastic so you won't notice the paper!


These figures are quite small, about 2.5 cm high. To give you an idea how that looks like, I placed on my worktable one of my Bachmann wagons I painted and weathered myself. Looks pretty accurate given the detail and scale reference? Let me know what you think.


How can you have a railway without drivers? Here are a few excited for their picture! It did take a while and a lot of practice to get the best results, such as the arms being free from the sides a little, and making the marks on the face. I'd also like to try to model the nose like the show did with their new figures from season 8 onwards.


There are a couple of drivers and firemen I designed to stand alongside my locomotives while they are running. Looks tricky right! Very easy tip:


I model these figures without one arm, and maybe have the head tilted a little, so they could squeezed on the cab-side, stuck on with a piece of clay shown.


I could have one or two on each side of an engine like Thomas as he passes by the camera for that added bit of realism I'm looking to capture for my video clips!


Sometimes I can use them on an engine like James or Henry, where they could lean out of the cab by sliding their sides down the doors with the arm holding them still, with a piece of clay which may be necessary to hold them into place while the engine runs.


Here is Sr Topham Hatt with his wife, Mrs. Lady Hatt, and their grand children, Stephen and Bridget!


Now for some passengers or pedestrians, businessman, mother and boys, a yardman and the grumpy policeman!


I also make a few props such as flags for the figures to hold. This man is the Lighthouse Keeper from "Something In the Air,"  with a turtleneck sweater and a cap.

There are more to make as there are so many figures I could model, but this gives you an idea how simple it actually is and rewarding it can be to make your own.

Friday, April 19, 2013

Annie and Clarabel

I was asked how I painted and modified Annie and Clarabel for the video clips I made, so here are these sweet ladies!


Studying from the episodes from Season 5 onwards, I modified these coaches to match how they looked after they were repainted and restored on the episode "Sir Hopham Hatt's Holiday" 1997.

The eyes are painted, and the mouth, pupils and eyelashes are ink pen. 

 
Using Folk Art Acrylics, yellow was mixed to orange to give them their color scheme. Gold Jell pen was used to color the handrails.

This was the first go at painting Annie and Clarabel this way, and in some places the paint is a little sloppy, but they still look lovely do they?

For the best results, I would strongly recommend saving the extra investment to using Badger Airbrushes for painting coaches, or any piece of rolling stock, with primer first to make paint stick, and hand mixing custom colors to get the look you want.


"No matter what we look like, we'll always be Useful!" Annie and Clarabel

Happy Modelling!

Sunday, April 14, 2013

Slate Wagon #1

Here are some photographs of one of the slate wagons I plan to construct for the quarry yard!


 I really liked the shape and design of the large scale versions of these wagons, and the extra detail of the real ones on the Talyllyn Railway. This is my first wagon made entirely with wood, with paper for bolts metal detail. Only this one has been made, out of fifteen I plan to make in the future!


I used Folk Art Acrylics to paint and weather the model. Here on the side, the wooden buffers extend along the side, just like the real thing, and it has three bolts. All of the bolts are made the same way as I created the funnel on Rheneas: I wrapped a strip of card-stock round a modelers screw, glued it together to make a cylinder, then glued it on a paper scrap, then cut the excess to cap the bolt head.


I did something similar with the plank supports, as there are two ribbon strips around each support. I also wrapped card stock around the buffers, which encase the wood and prevents it from splitting.


Now here is how I make these cars run on Lego track: The Lego wheels and other pieces are assembled to make the underframe, that fit snugly in place inside the jig made underneath the car, with just two wood planks. This allows me to take them on and off so I can interchange them for other cars. I don't need to glue the chassis together, and I have more options when it comes to choosing the cars I want to run.


The planks for the floor are evenly spaced with gaps, running from one end to another. The wood is assembled with white glue, as well as the paper with crazy glue.

I hope to experiment with other slate car types, such as the cars on Dinorwic Quarry, and different paint schemes as well.

Modeling Sir Handel: Part 1

Recently I began construction on Sir Handel, and as I have been planning on trying out an original look for the Skarloey engines, Here is the third engine to join the team!


Here he is gleaming in his Railway Series color scheme! As you have seen with Rheneas and SkarloeyI am modeling these characters based on how they looked  in the Railway Series, and the large scale models used from season 5 onwards in Thomas' TV series, loosely based on their prototypes.


Here is a drawing of Sir Hayden done in blue pencil in his former glory days. I mentioned in earlier posts I love to draw, and today I like drawing the engine first, in a three-quarter view, and each side measured out, which can be transferred as templates on paper to cut the pieces.out for the model.


This engine is made of card-stock, Bazzil Basics textured card, glued together using white glue and crazy glue. For parts such as the cab and chassis I brace the pieces together using balsa wood.

Sir Handel still needs his wheels, coupling rods and valve gear, but I'd say after making him a few times, I think this is the most representational and original look Sir Handel deserves. I liked how Sir Hayden looked engineered in his original shape.


I use Scotch tape to assemble parts like the tanks, wrapping the outer shell together to the shape of the tanks either end, so it is seamless, and it is easier to put together, too. The funnel, smoke box, water cap and domes are made by wrapping the paper in a cylinder shape and gluing it together, then cut to match the curve of the parts.


On one side of the cab, similar to how Sir Hayden looked when he was first bought by the Talyllyn Railway, I have the door closed in a "metal" sheet, which was added on to protect the crew from knocking their heads on the very low bridges and clearances on the line at the time.

 
Here is the cab interior, with reverser, gears, brakes, pipes, and even the gauges! All made once again from scratch using wood and card-stock. It does take a while, especially painting the interior, but it looks so much more realistic and worth the time and effort to make, and it feels good to try something new!


Until next time!

Behind the Scenes: Brendam Docks

The Docks have been a common theme for my last two uploads, so to fulfill requests, here are some photographs of this set and how I made them:


This is a photograph based on the opening sequence of "Horrid Lorry." Just like the Narrow Gauge engunes such as Sir Handel, Rheneas and Skarloey, all of the buildings, open-aired sheds, cranes and ships are made of card-stock, glued and assembled together. Even the clay figures I've sculpted myself (more on that on another post, stay tuned!). Gordon is shunting Bachmann Branchline Vans in the siding.


Here is one of the ships. This was featured many times as different characters on TUGS, and it took quite a bit of searching to find the right pictures to work from, but it was well worth the extra effort!

This ship is also made of card-stock paper! Balsa wood was used for the masts, with black thread to tie them together and decorate them. Glass is plastic egg carton, so you can see the interior. The ship in the background has a light, and you can see it in the previous posts and in "Something in the Air," and "Cranky Bugs!"

 
Here's Percy, waiting for his cars to be coupled. The chain is a spare Lego chain.


Here is also the Salvage Barge seen in Thomas' "Horrid Lorry" and "Bulstrode" episodes. The crane's cab can turn, and the arm is adjustable, too.


From the Flying Kipper scene, here are some open wagons from Bachmann Brachline, and of course the Ertl die-cast Crosby Truck! I used lights for the night scenes in warehouses and sheds. This one in particular is from the original "Flying Kipper" Railway Series illustration, with its long platform.


These pictures are from Tidmoth Yards, but shown are the cargo I have modeled and made from scratch out of card-stock paper. The skids are painted and weathered balsa wood strips, with many painted spare parts and Woodland Scenics kits. You can also see a better view of the tiny HO scale clay figures I have made from Sculpy clay.
 

Here is a clay face I made for one of the vans! First getting the vans, I really wanted to see what they would look like with a face on. So studying from the pictures here, I sculpted and carved the face using Sculpy. I think this is the best Troublesome Truck face I ever did!

 
I will be posting "Horrid Lorry" in a week after my collage classes, so you can see more of the lorries on these flatbeds! Each are Base Toys from ehattons.com, and I even made their classic faces too.

Happy Modelling!