
A few days ago, I decided to make another goods shed, one that could be built for Tidmoth. So today, I wanted to post some photographs to show my construction process for this building.

I remember looking through some pages of a book of "The King of the Railway," and there was a 2-stall engine shed, where James, Emily, Gordon and Diesel were taking on water or being washed. It looked similar to some standard gauge sheds I've seen in seasons 4 and 5, and even the carriage shed on the Skarloey railway. It had a nice design, and it looked big and roomy for Percy's mail cars or either some coaches or wagons!
When I have an idea for a new structure, I sketch thumbnails and detailed drawings with measurements for construction. For this shed, I tried drawing doors, the three lamps seen in the illustration, and tried drawing two variations of how the side of the shed's wall would look.
So before New Year's Eve, I used the measurements in the drawings to start construction.

I decided to try something different for this shed. I had some spare foam core, so I cut them into strips, and measured out sections of the wooden semi-columns for gluing.


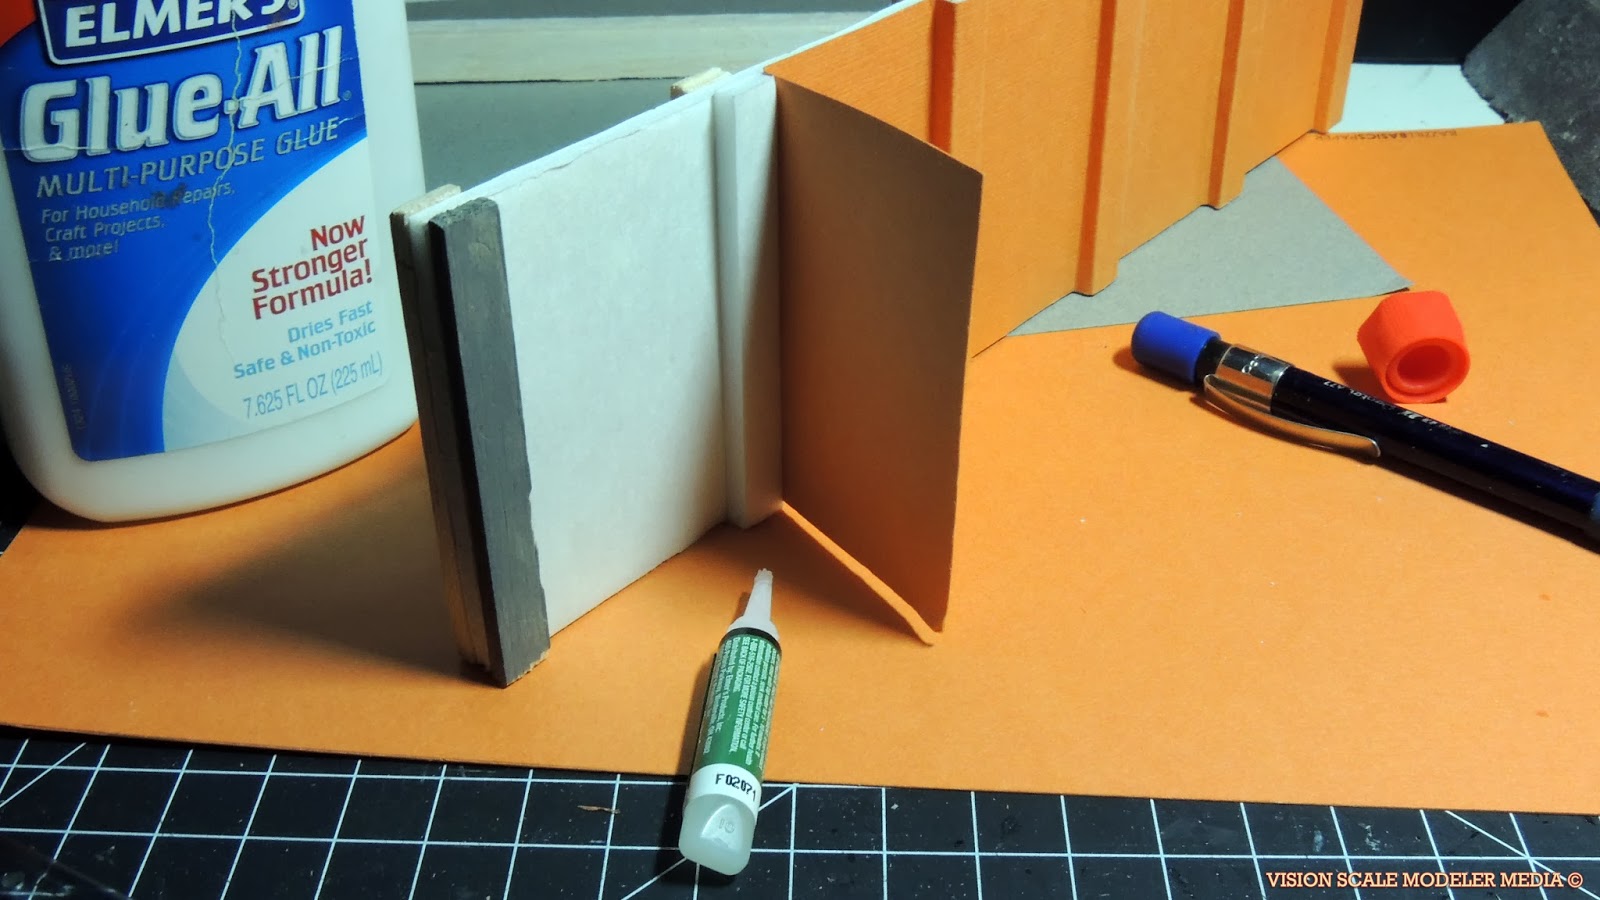
Then I drew the windows, and cut them out using my hobby knife. Now I can glue the wood in place with white glue.

I wanted to create a nicely detailed interior, which is just as important as the exterior! So I did the same process on the other side. I decided to have windows on only one side, as many goods sheds do in yards with walls or roads running along side it.

After the second wall was made, I placed Emily and some track between the walls to check and see how wide I wanted the shed to be. Now I can begin decorating!
Using both white glue and super-glue for the tight edges, I folded and fixed strips of my textured card-stock around the plain wall on one side. It took a lot of folding and bending to get a snug fit. I think it might have been better if I had cut the strips separately, which would make the edges look sharper, not as round as they appear here.

I made separate strips for the other wall cut out for the windows, which were painted and glued on the back. This was tricky as I had to use narrower strips to make the layers of paper flat, which didn't turn out to be as deep as the wall on the other side. But after the clear plastic for the glass was put in place, and the layers of paper were made for the semi-columns, this wall actually turned out great.

Next I painted the interior. I used extra foam core for the semi-columns as I ran out of the flat wood strips, but this looked better. As I painted the paper of the foam core, and as there were wrinkles on the surface, it gave the illusion of plaster or concrete. The brick wall was wrapped and glued around the thickest columns on each end.

Finally I glued a strip of card around the bottom, for the trim running around the wall's foundation. Now I was ready to paint!
I mixed Folk Art paints for the bricks, the same mixed colors I used to paint the Walthers Warehouse. I used terracotta and a mixture of pink. as it was wet on the wall, I dry-brushed lighter shades, mixing in a linen color as I worked, which created depth. Then I did the same for the other side, weathering the window panes as I went.

The last thing I want to show for this post is the construction of the A-frames for the interior. I sketched a template to align the wood as I glued them together. The lowest cross-beam has card strips for the flush metal girder edges.
I used this technique for the Open Air Sheds, and I found excellent results using it for the Knapford Goods Shed; now I can use it to support the singled roof. Six of these were made, and after spraying them with primer and waiting for them to dry, I painted them using Hunter Green, the color I used for the windows and trim.
I hope you've enjoyed these photographs. The next post will show this shed closer to completion, so it will be uploaded soon.
Really great to see the whole process of building one of your wonderful models!
ReplyDeleteI knew you would like that! I hope I can do more of that with whatever I plan to make. Now, I am finishing the roof's windows and its ling metal strips. This will be shown soon!
DeleteCool job!:)
ReplyDeleteHey thank you! This was one of my favorite recent structures, as I have been building my skills in realistically crafted modeling. I was glad I was able to find some good angles to capture for you to see the process of making these little beauties!
Delete