

Arguably the best character of Thomas And Friends, Edward is the oldest of the star fleet of engines who's been around the Island for a long time, and his wise words, courage and experience make him an admirable and well respected engine in the shed. Since Bachmann USA released him back in 2008, I always wanted to customize him to look more like his TV prop on the show. Here's how I did it!
1) Body Shell Modifications

The very first thing I do for any custom Bachmann Thomas model is give them real handrails if they are meant to have them. For Edward's case, he was fairly easy as he has one length of it on each side with no complicated bending. I first sanded the molded detail of the handrails on the body smooth using fine-grit sandpaper and sanding files, making sure the boiler has a nice, smooth finish. I then proceed with giving him a matte varnish for the finish I want, and provide a flat surface to make it easy for the acrylic paints I use to be painted on. I've recently been trying out Tamiya's TS-80 Clear matte finish and I highly recommend it for the best results.
NOTE: Please spray outside or in a well ventilated area, with a mask, and make sure that there is a consistent temperature in the room of choice, not too hot or not too cold, as it will effect the spray application. Having good lighting also helps with drying. As the trim tape for the lining was glossy, I spray the model a very light first coat to help painting, apply the paint I want for the body shell, then once dry I add he glossy lining before a final coat. Weathering will come later!

I then mix the colors of blue I need to match that of the body the best I can. I use acrylic craft paints such as by FolkArt and Apple Barrel. I try to add very fine, thinned layers so the paint covers where I sanded the molded handrails clean.
As you can see, I also took out the eye mechanism so I can add the 3D printed faces I have for later, I took them out with pliers and sprue when necessary.

Once the thinned layers of paint have dried, I add red boiler bands made from cut strips of vinyl, which look nice and stick really well compared to Testor's trim tape. I recommend my buddy George @bowledout95 who cuts glossy or matte vinyl to use for stripes such as boiler bands or trim for cab and tenders for specific engines, so hit him up on Twitter if you would like to commission him for some!
I now proceed with adding drilled holes for the handrails using my pin-vise, making sure the drill I choose allows the handrail knobs to fit snugly for gluing once fitted on with Crazy Glue. After I add them on and glue them in place, I cut a length of 0.45 mm music wire to fit through the knob holes, and secure them in place with fine drops of more Crazy Glue.
The handrails I use are made by Nairnshire Modelling Supplies in the UK I found on eBay. I had to have them shipped to a friend who lives there who then shipped it to me, as listing didn't offer shipping to the US, but this can work with any you choose from model railroad suppliers or eBay, like Cal Scale (US) or Markits (UK), and a wire that's stiff enough to hold it's shape but can be bendable if needed.
- Tamyia - TS-80 Clear Flat Spray
- Tamiya - Modelers Putty
- Micro Mesh - Sanding Files
- FitGrip Hobby Knife - Set of 2
- Tweezer Set - 8-Piece
- Slim Line Precision - Pin Vise
- The Rogers - Drill Bit Set
- Cal Scale Handrail Stanchions
- K&S 0.020 Music Wire
- Crazy Glue
2) 3D Printed Faces


All the faces of Edward are designed by Xavier @LightAndCoal on Twitter, which are seen in the 3D Sodor Workshops for custom simulator builds and add-ons for Thomas themed engines and rolling stock. He has made 2x 6-packs of his faces with different expressions up on his Shapeways store!
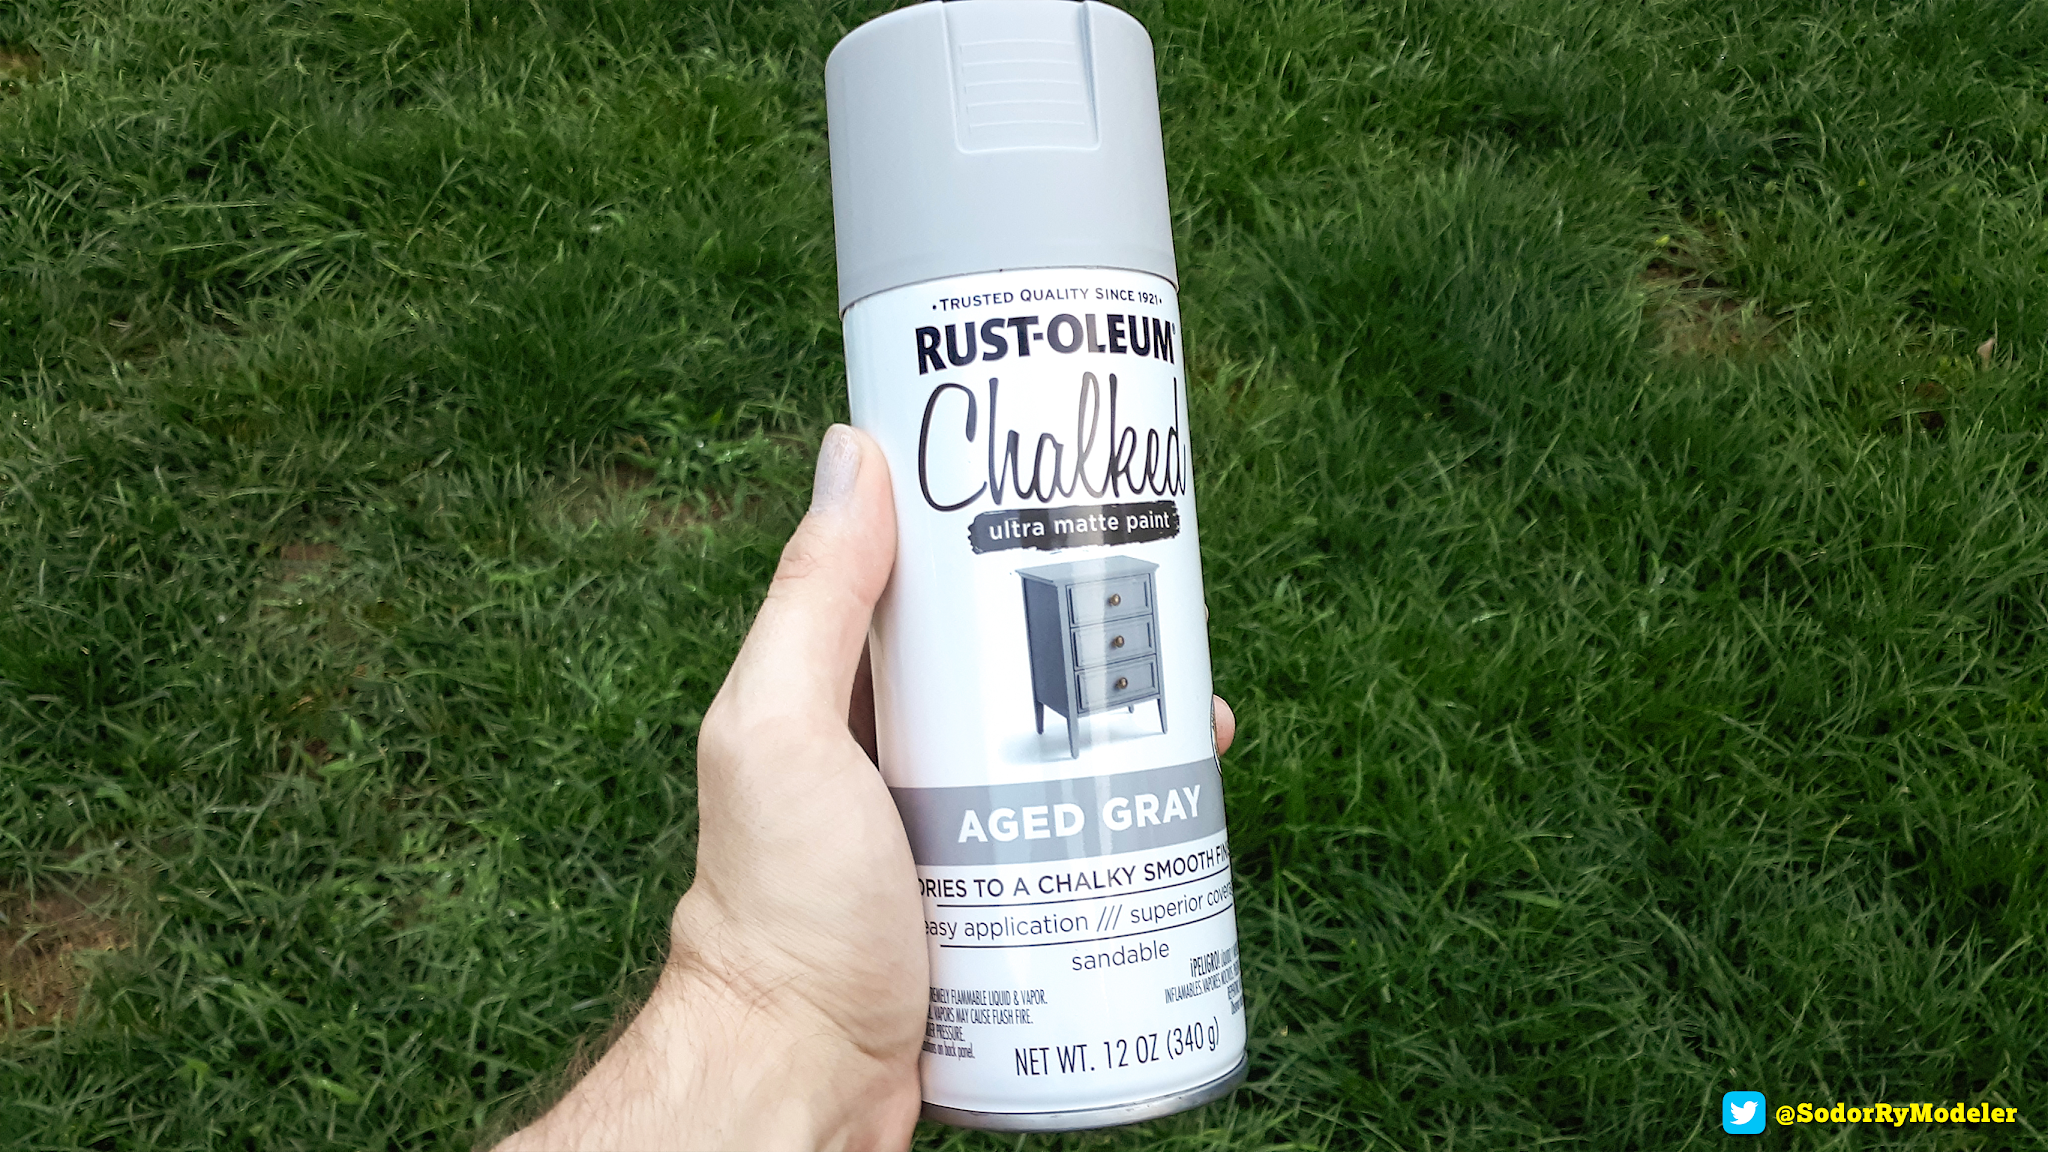

Once test fitting everything, I give the faces a spray of RustOleum's "Chalked" spray paint with the Aged Gray color, sold at most craft and hardware stores or online. This has by far been the best paint in a can I've used that matches the color I want for any Thomas face I paint. I make sure before spraying I clean the faces if they have any dust or residue left from the printing process with water and dish soap and drying them with a paper towel, making sure they're dried for spraying!

After I give the spray paint 12-24 hrs to completely dry, I use craft acrylics to add white for teeth, and grays for open mouths. I touch up any painting mistakes using a half-and-half mix of Americana "Gray Sky" and "Cobblestone." I use fine-tip brushes applying it, thinning the paint with a bit of water when necessary. The final touches are the eyebrows, which I "draw" using Faber Castell ink pens, either XS (extra small) or S (small) sizes. As ink takes a while to dry, leave it for a while before handling the face if you don't want smudges! The eyeballs are 6mm Airsoft pellets with vinyl pupils George @bowledout95 cut from glossy black vinyl! Again, hit him up on Twitter if you would like some.
I'm very, very happy how the faces turned out! I always wanted my Bachmann Edward to have different expressions in this cale, so seeing these great faces feels amazing to look at.
- RustOleum "Chalked" - Aged Gray
- Americana Craft Acrylics - Gray Sky
- Americana Craft Acrylics - Cobblestone
- Americana Craft Acrylics - Titanium White
- Airsoft Pellets - 6mm
- Faber Castell - Ink Pen XS
- Faber Castell - Eraser
- Techical Pencil
- Blue Tak
3) Detailing and Weathering

Now couplings! I use Smiths from gaugemaster.com in the UK, for locomotives and some coaches I get the LP8 screw-links kit to assemble with my modeling tweezers. I have something like the metal tip from a fine tip paintbrush handy to bend the "hooped" parts, then squeeze them to the center piece to swivel freely. I use the same technique as I do with the lamp iron and brake pipes to snip the bottom and wrap the end with Sticky Note strips to glue on as the bottom weight. If first starting out, I recommend getting the LP5A assembled screw links, or the spare ones Hornby now sells on eBay or most UK suppliers. If you're using Hornby's screw links, it's just one round hole, so you can just pop it right in the coupling mount, just make sure it's secured well with glue if you want it to pull trains.
Now I have to make a slit on the buffer beam to fit the couplings in, so I hand-drill two holes with my pin vise, then simply cut the excess plastic in between with a hobby knife.
Next, I make the coupling "bases" from scratch, the thing the couplings fit securely in place with the buffer beam. I cut two pieces of cut Evergreen styrene, each with a slit for the coupling made from drilling two holes and cutting the excess away like before, and then gluing both square pieces together, one square bigger than the other. I use RustOleum's "Chalked" Barn Red spray paint to color the piece, then once it completely dries glue it in place using Crazy Glue, making sure to keep it aligned with the slit made in the coupling mount, then slipped on the coupling on to dry! I recommend the ones Ian @IbroBro4 modeled for his Shapeways store!

All of the brake pipes and lamp irons are made from scratch using 20 gauge craft wire from the craft store. For the pipes, I bend them around a screwdriver with pliers to make their curved shape, and cut the excess off. I wrap the molded "facets" details around the bottom where they'll fit on the model and on top using strips of Sticky-Notes paper, cut with a hobby knife and a steel ruler. I use Crazy Glue to secure the edge of one end and then once it sets, wrap the strip around the wire a few times until it makes a nice nub, then glue the end and cut excess with scissors. Be careful the glue doesn't get on your fingers! When that's done, I stick them on a scrap piece of blue foam and spray all the parts matte black. Once dry, I drill a hole where I want to put them on the footplate/bufferbeam by the coupling, and secure them with Crazy glue.


As Edward is an old engine, I used my soft brush to carefully add Dave's Decals weathering powders in all the places I wanted to add some rust, soot, and grime between corners and on various detail parts on the model, like his axle boxes on his tender. I used a soft brush to gently apply the powders where I wanted it, which sticks on to the flat matte finish on the model extremely well for the right effects for extra realism!
- Smiths Screw Links - LP5A
- Smiths Screw Links - LP8 Kit
- Hornby - Spare Screw Link Couplings
- Ian's Coupling Bases
- RustOleum "Chalked" - Aged Gray
- Testor's - Black Flat Spray Enamel
- Bachmann Branchline Dummy Lamps
- 20 Gauge Craft Wire
- Sticky Notes
- Knipex - Needle Nose Pliers 6-1/4''
- Dave's Decals Weathering Powders
4) Tender & Real Coal


For the tender, I felt the ladder on each side would look so much better with the black painted plastic bits drilled and sanded off, so I first used my pin-vise to hand-drill out the corners first, then used my hobby knife to carefully cut out the sides, using a strip of fine-grit sanding paper to sand the edges smooth. A Bachmann Branchline dummy headlamp is glued on the back of the body as a tail lamp.


I enjoy adding real coal for engines’ bunkers and tenders with fine grade Hattons real coal loads, so the first thing I did was use DAS modeling clay to make a better profile for the tender load, which I paint black once the clay dries, I cover the whole top with Woodland Scenics foam glue, which once dry will be completely flat and Rick hard with no shine. I then begin sprinkling the coal right on top, making sure to cover any areas of white glue. It looks rather convincing and very nice once finished curing!
- DAS - Modeling Clay
- Tamiya - Weathering Master #1
- Tamiya - Weathering Master #2
- Hattons Real Coal - Medium Grade
- Woodland Scenics - White Scenic Glue


This was a fun project! I'm extremely pleased how well Edward turned out. Honestly, with what I've learned from previous customs, his custom process was a lot more straight forward and easier than I thought it would be. He's great to run on the layout and looks great behind anything he pulls, coaches, freight cars, even Hornby' Stephenson's Rocket coaches! I cannot wait to see what other modelers will do to customize their Edward model.
Links to the products I used to customize him are linked throughout the post. Let me know in the comments below if you have any questions about the process!
As always, happy model railroading!
- Stephen
No comments:
Post a Comment