

My first custom 3D printed steam locomotive! Billy was one of those oddball characters on the Thomas show, while appearing in one episode and well known for being a smart Alec and buck-teeth, is unique for being an orange Manning Wardle L Class 0-6-0 tank engine, and I always wanted to tackle him for a custom for my collection. I elicited the help of my friend Noah @the_lbsc_Thomas, who does a great job designing and printing 3D renders for Thomas-themed rolling stock projects, and I welcomed him to help me with this custom! Patrons got to see how he was done early, and a week later it's time for everyone to read how we brought him to life. Let's get started!
1) Designing and 3D Printing
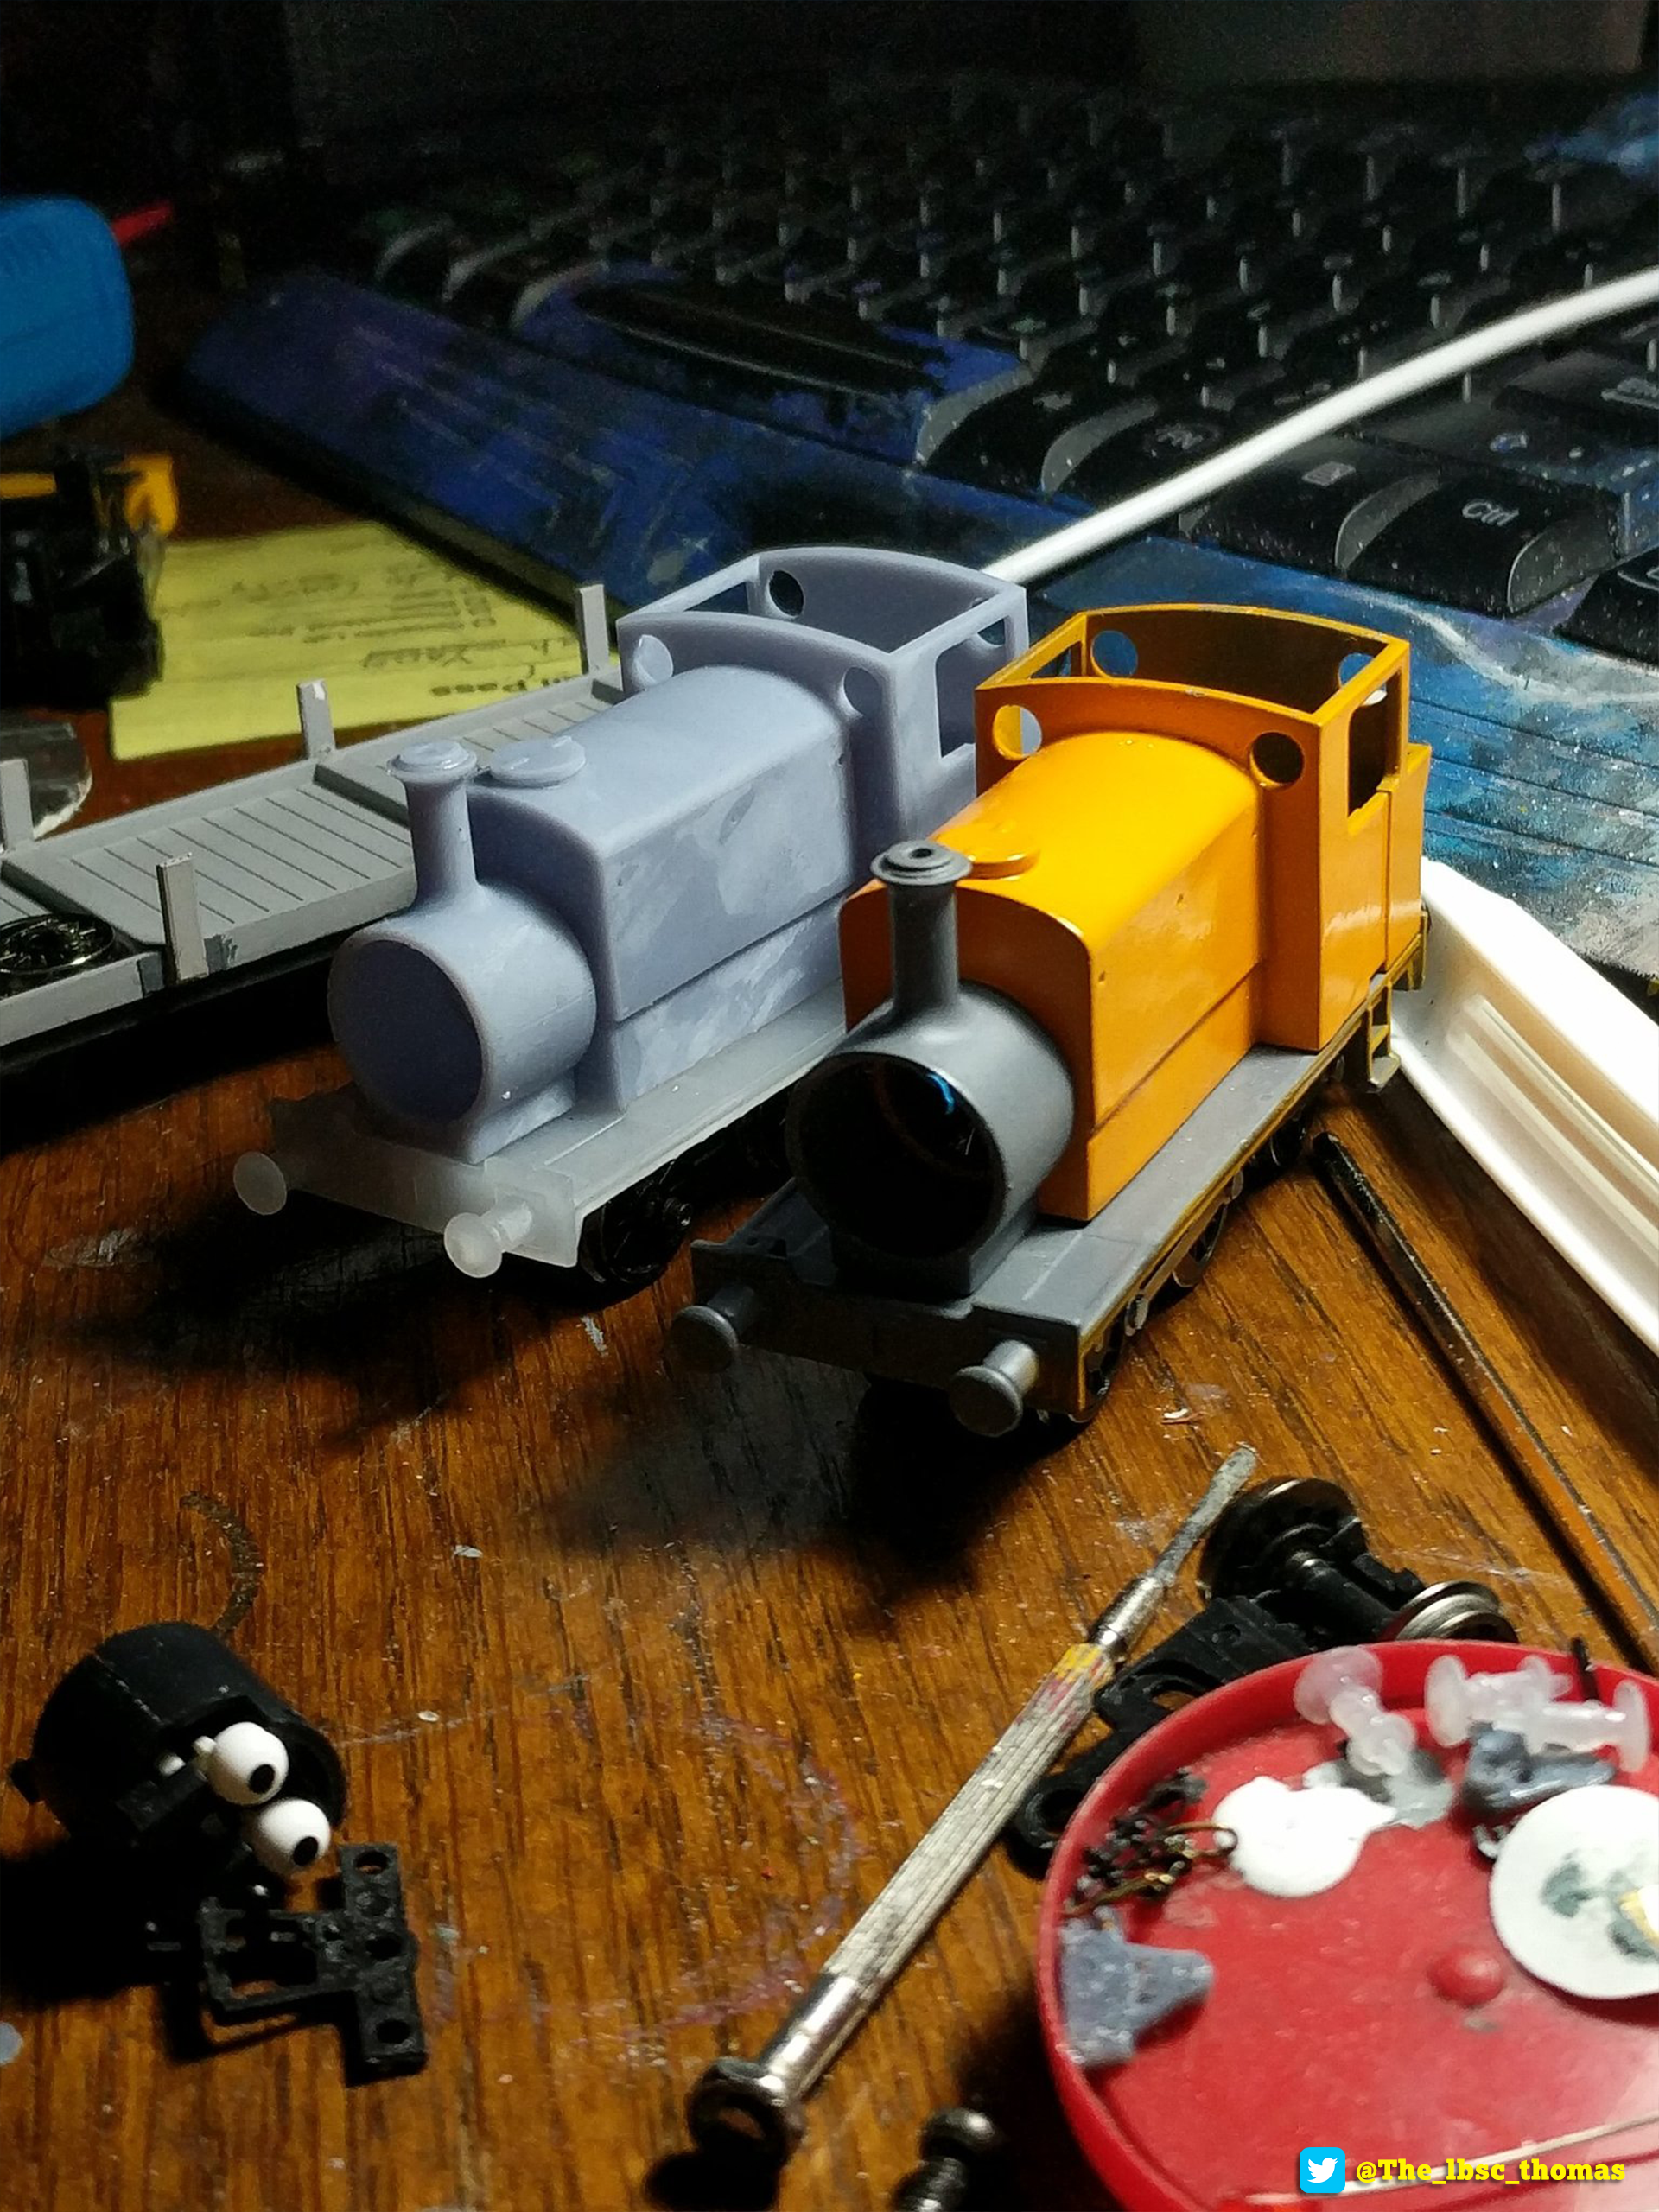
The very first thing we figured out was to make Billy powered using a Bachmann Thomas chassis, with the eye mechanism cut down for smoother running. Noah also swapped the driving wheels with smaller ones from Bachmann Bill and Ben I sent him to nail the smaller profile.
Once he designed the file to completely fit the chassis, he test fitted the resin print, using fine-grit sanding paper and sanding files to make sure the print came out completely smooth. Once he cleaned off excess dust and print marks, he began painting it with colors and varnish he used from Tamiya.
- Tamyia - TS-80 Clear Flat Spray
- Tamiya - Modelers Putty
- Micro Mesh - Sanding Files
- FitGrip Hobby Knife - Set of 2
- Tweezer Set - 8-Piece
2) Lining


Noah also tried his best to tackle the striping, using green and yellow matte vinyl and cut them to match the profile of the tanks and cab. Once he fitted them into place, he put on the Cal Scale handrail stanchions he uses along with K&S 0.020 music wire. Once he got the initial job of printing, test-running and painting him, he mailed him to me for the final pass on details!
- Cal Scale - Handrail Stanchions
- K&S - 0.020 Music Wire
- Slim Line Precision - Pin Vise
- The Rogers - Drill Bit Set
- Crazy Glue
3) 3D Printed Faces

While I waited for the model to arrive, I worked with Rex @Rexecutions to design faces for him. Here are some of the 3D renders he designed for me based on the face masks sculpted for his TV prop, but also some inspired from storyboard drawings of the episode that were never sculpted I wanted him to make for me! It was exciting to see these expressions come to life as they are quite expressive, and still maintain his sculpted style quite well.

Noah printed them for me, and to see them translated in printed resin was quite impressive! They held up well with the 3D printing process, and now it was time to paint them! Before painting, I sanded them smooth and cleaned them from any dust or residue left from the printing process with water and dish soap, scrubbing them with a soft toothbrush and drying them with a paper towel. Once completely dried, I sprayed them with extra fine layers of RustOleum "Chalked" Aged Gray spray paint!


Once I give the spray paint a 12-24 hrs to completely dry, I use craft acrylics to add white for teeth, and grays for open mouths. I touch up any painting mistakes using a half-and-half mix of Americana "Gray Sky" and "Cobblestone" with a drop of white paint, and use very fine-tip brushes applying it, thinned with a bit of water when necessary. The final touch are the eyebrows, which I "draw" using Faber Castell ink pens, either XS (extra small) or S (small) sizes. As ink takes a while to dry, leave it for a while before handling the face if you don't want smudges!

I love how they turned out. They really capture his bratty attitude and are very expressive like the props and the original storyboards, for all the different moods that fit his character and his debut story moments.
- Rex's Funky Face Shop - Billy Face Pack #1
- Rex's Funky Face Shop - Billy Face Pack #2
- RustOleum "Chalked" - Aged Gray
- Americana Craft Acrylics - Gray Sky
- Americana Craft Acrylics - Cobblestone
- Americana Craft Acrylics - Titanium White
- Airsoft Pellets - 6mm
- Faber Castell Ink Pen - XS
- Blue Tak
4) Final Detailing


Once the model arrived in the mail and I finished the faces, I got all my favorite parts together to add and finish the project. I use Smiths couplings from gaugemasterretail.com in the UK. My favorite ones I like for engines are the LP8 screw-link kit to assemble with my modeling tweezers. I use something like the metal tip from a fine tip paintbrush handy to bend the "hooped" parts, then squeeze them to the center piece to swivel freely. I snip the bottom of the nail and wrap the end with Sticky Note strips to glue on as the bottom coupling weight, then I spray the couplings stuck on a stick of foam with matte black spray paint.
If first starting out, I recommend getting the LP5 assembled screw links, or the spare ones Hornby now sells on eBay or most UK suppliers. If you're using Hornby's screw links, it's just one round hole, so you could drill out a hole on the coupling base. Just make sure it's secured well with glue if you want it to pull trains!

All of the brake pipes and lamp irons are made from scratch using 20 gauge craft wire from the craft store. For the pipes, I bend them around a screwdriver with pliers to make their curved shape, and cut the excess off. I wrap the molded "facets" details around the bottom where they'll fit on the model and on top using strips of Sticky-Notes paper, cut with a hobby knife and a steel ruler. I use Crazy Glue to secure the edge of one end and then once it sets, wrap the strip around the wire a few times until it makes a nice nub, then glue the end and cut excess with scissors. Be careful the glue doesn't get on your fingers! When that's done, I stick them on a scrap piece of blue foam and spray all the parts matte black. Once dry, I drill a hole where I want to put them on the footplate/bufferbeam by the coupling, and secure them with Crazy Glue.


I want to give him his nameplates, so I designed them in Adobe Illustrator to test for size first, but something else I tried was giving him a number plate, as his TV prop didn't have one. 39 signifies he is the 39th standard gauge engine character to be introduced to the series. I think it really helps give an elegant touch to the empty space on the cab! I also added a dummy tail lamp from Bachmann Branchline. The whistle I gave him is by Ian @IboBro4, which is available in brass on his Shapeways store!
- Bachmann Branchline Dummy Lamps
- Ian's Shapeways Brass Whistle
- Tamiya - Modelers Putty
- DAS - Modeling Clay
- Hattons Real Coal - Medium Grade
- Woodland Scenics - White Scenic Glue


And there you have it! Brand new and ready to be useful on Sir Topham Hatt's railway! I am very happy how good he looks on the layout, and he runs like a charm. A big shout-out to Noah and Rex for helping me make this custom possible, a custom I am proud to get to work on.
If you guys want to make one yourself, hit them up on Twitter! Noah has a body shell uploaded in his Shapeways store, but if you want high quality prints you can DM them and ask him to print one in high quality resin for you, and hopefully this tutorial shows you a glimpse of the process! You can also DM Rex for the faces, which Noah can print for you, although Rex will put them up on Shapeways as well!
As always guys, thank you so much for the support, it means a lot to me and all the money goes to bringing these projects to life. I hope it inspires you! As always, happy model railroading!
- Stephen
No comments:
Post a Comment